How to Edit Text in Scanned PowerPoint Slides — 3 Methods Compared
You open a PowerPoint file only to discover that none of the text can be selected, clicked into, or edited. This means you are dealing with scanned PowerPoint slides—each page is essentially a scanned image or screenshot pasted onto a slide, with no actual text boxes underneath. This guide walks through 3 practical methods to make the text in scanned PPT slides editable again.
What Are Scanned PowerPoint Slides? How to Tell?
Scanned PPT slides look just like normal slides at first glance, but their underlying structure is completely different. In a normal PPT, text is stored in text boxes and can be directly clicked and edited. In a scanned PPT, each slide is just one large image—the "text" you see is actually just pixels in a picture, with no text data at all.
Common sources of scanned PPT slides include:
- Paper documents scanned and imported into PowerPoint
- Old presentations that were screenshotted and reassembled into a new file
- PDFs converted to PPT without OCR, where each page was simply inserted as an image
- Presentations received from others that were assembled from image files
How to check: Open the file in PowerPoint and try clicking on any text. If you cannot select a text box, or if clicking selects the entire page as one large image, it is a scanned PPT.

Method 1: Manually Retype the Text
The most straightforward approach is to manually add text boxes on top of the scanned slides and retype the content by looking at the image.
Steps:
- Open the scanned PPT in PowerPoint
- Insert new text boxes where you need to change or add text
- Manually type the text by referencing the image underneath
- Adjust font size, color, and position to match the original appearance
Pros: No extra tools needed; PowerPoint itself is all you need.
Cons: Extremely labor-intensive, especially with many slides; high risk of typos from manual retyping; formatting, font sizes, and colors all need manual adjustment; very time-consuming and hard to match the original layout precisely.
Method 2: Use OCR Tools to Extract Text, Then Paste
You can use OCR tools (such as Google Docs OCR, Microsoft OneNote, online OCR websites, or mobile OCR apps) to extract text from the slide images first, then paste it back into PowerPoint.
Steps:
- Export each slide of the scanned PPT as an image (Save As PNG/JPG)
- Upload the images to an OCR tool to recognize text
- Copy the recognized text and paste it into new text boxes in PowerPoint
- Manually adjust text box positions, font sizes, and formatting
Pros: Many free OCR tools are available; text recognition accuracy is usually decent.
Cons: Requires exporting each slide as an image and processing them one by one; only plain text is extracted—original layout, font sizes, and colors are lost; manual formatting work is still significant if you have many slides.
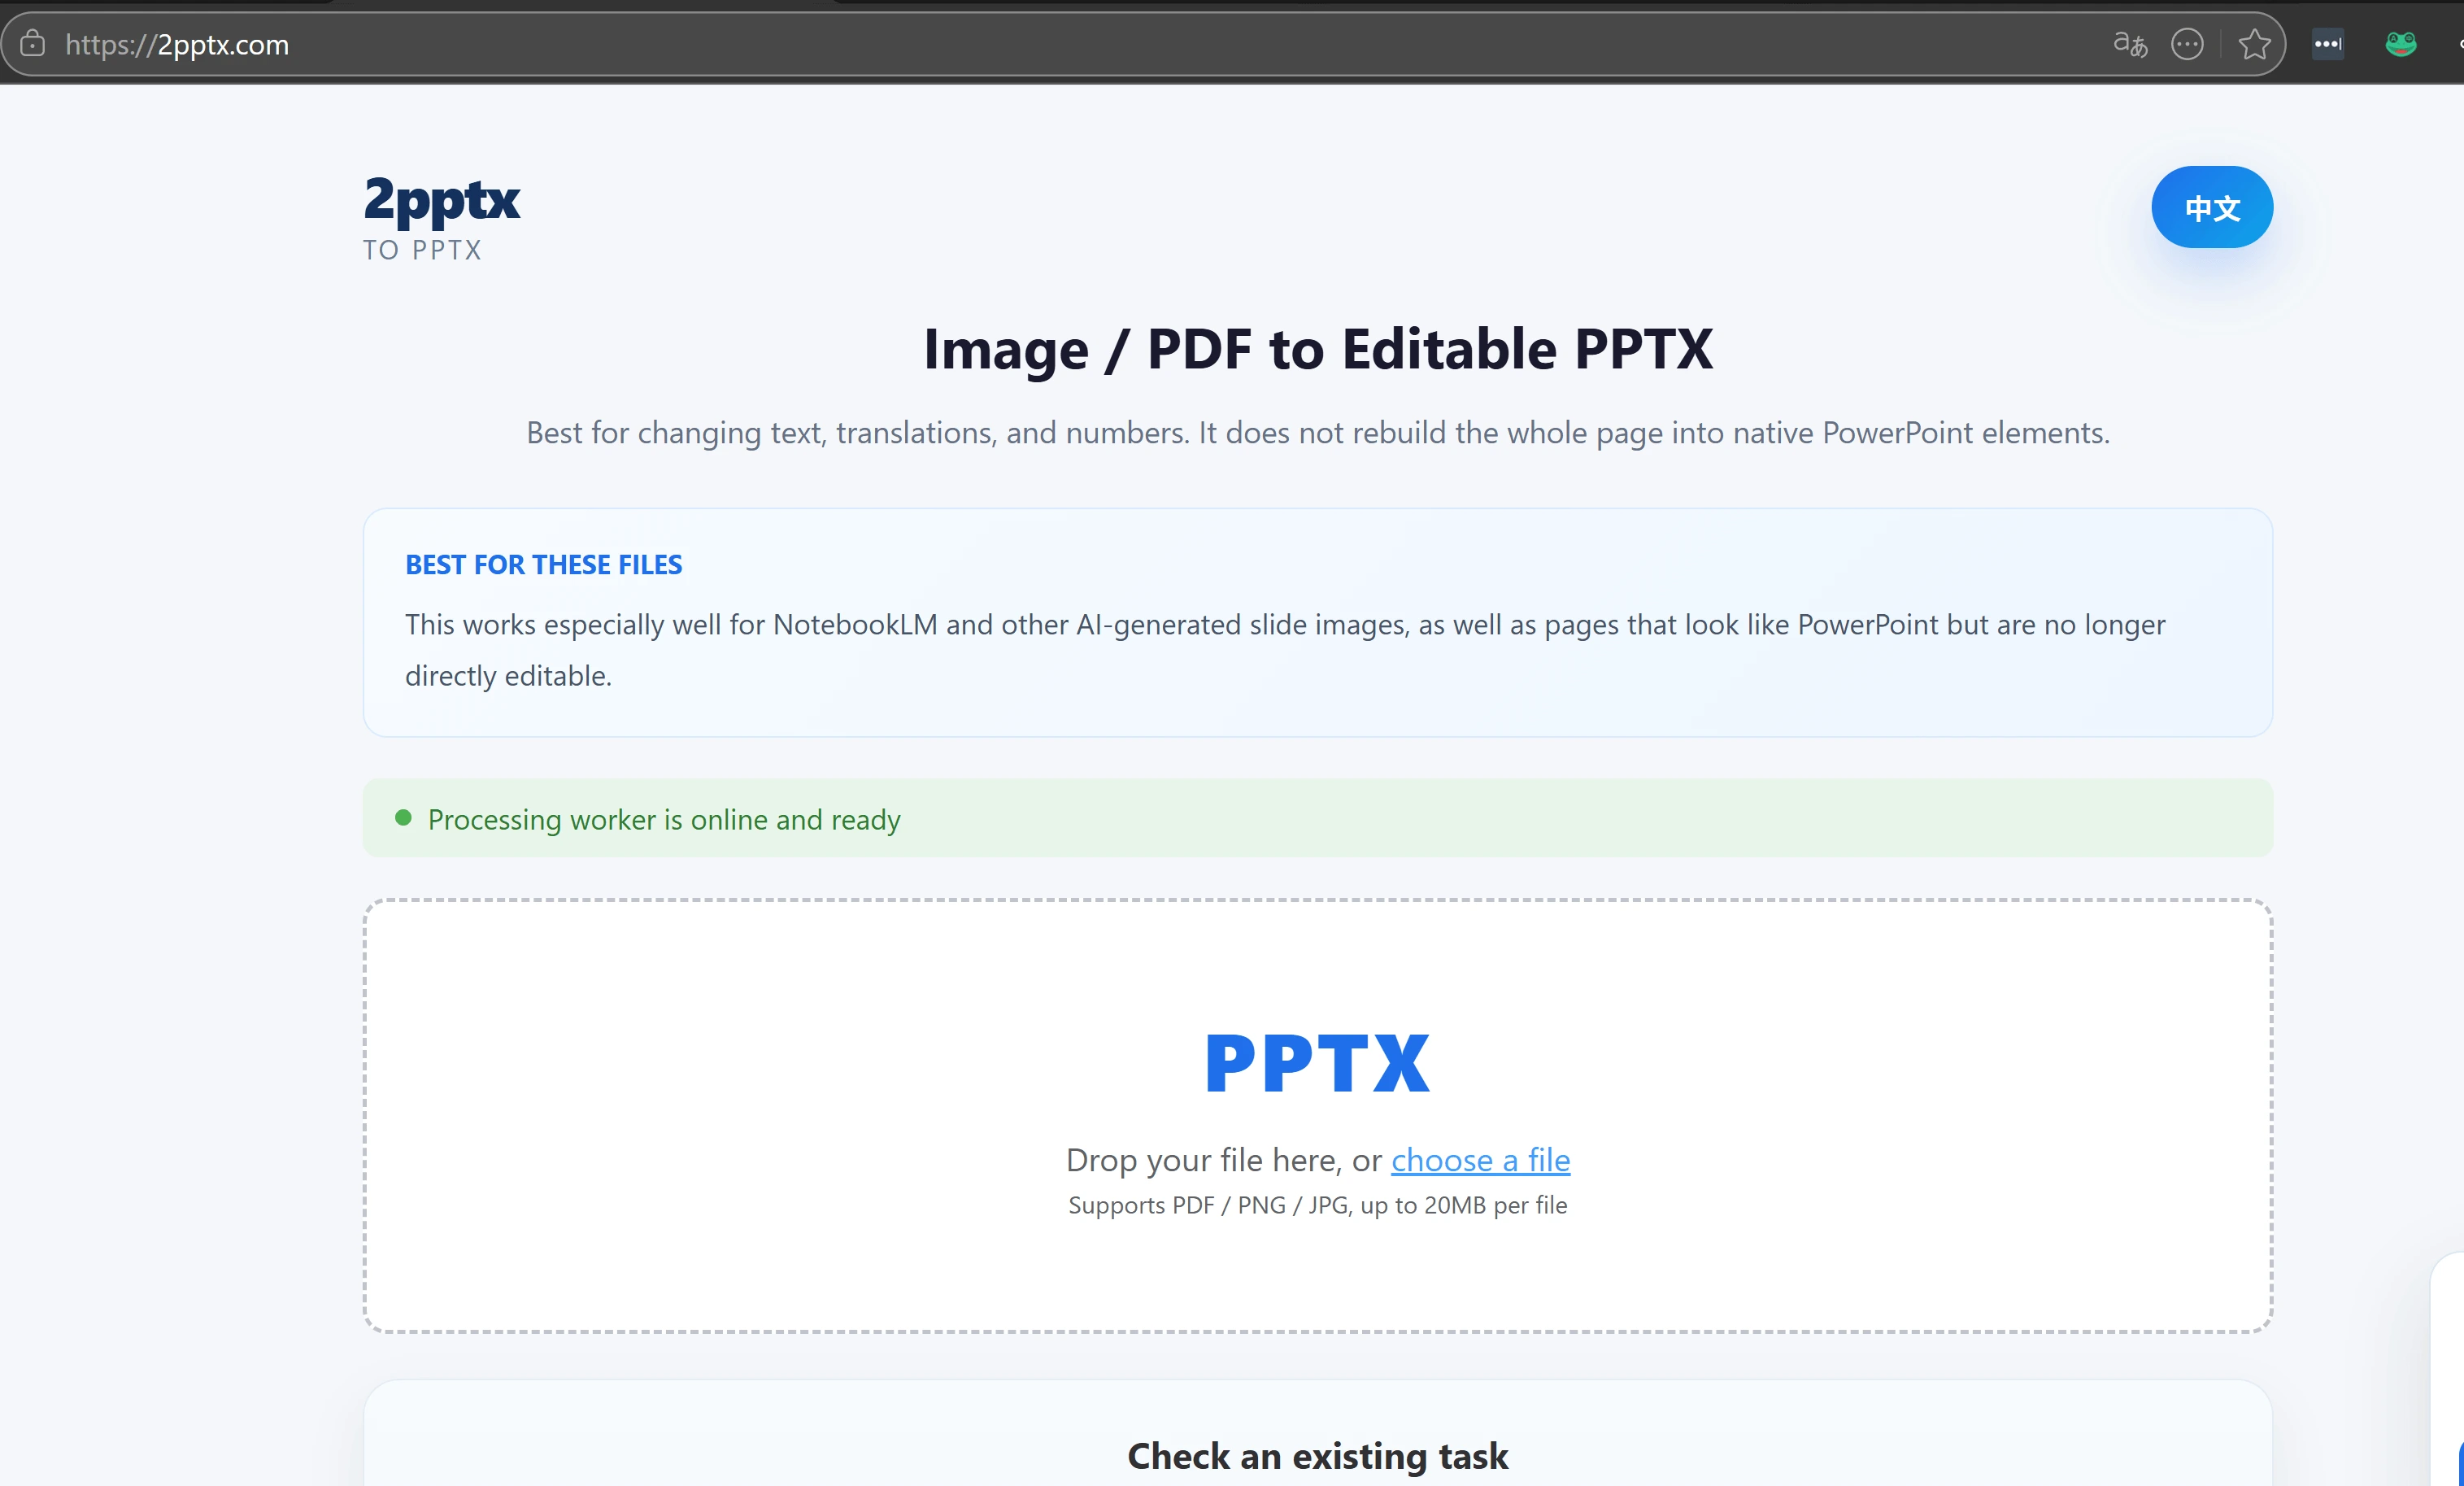
Method 3: Use 2pptx for One-Click Conversion (Recommended)
Both previous methods ultimately require significant manual formatting work. 2pptx.com takes a fundamentally different approach: instead of trying to "reconstruct" your slides, it preserves the original page as a background image while extracting the text into separate PowerPoint text boxes. The result looks almost identical to the original scanned slides, but the text is double-click editable.
This method is especially useful for these common scanned PPT scenarios:
- Scanned presentations from others that need a few text changes before reuse
- Old training materials or courseware that need updated dates, data, or contact info
- Scanned contracts, reports, or certificate pages that need to be translated
- Screenshot-based PPTs that need typo fixes or wording adjustments
Here is a complete walkthrough using a real example.
Step 1: Confirm Your PPT Is Scanned
Open the file in PowerPoint and click on any text in the slide. If what gets selected is one large image covering the entire page rather than a text box, it is a scanned PPT.
Step 2: Open 2pptx.com and Upload the File
Go to 2pptx.com and upload the scanned PPT pages. You can upload in PDF format, or first export each slide as an image (PNG/JPG) and upload those. Free uploads are limited to 35MB; paid or redemption-code uploads can go up to 100MB and may take longer.
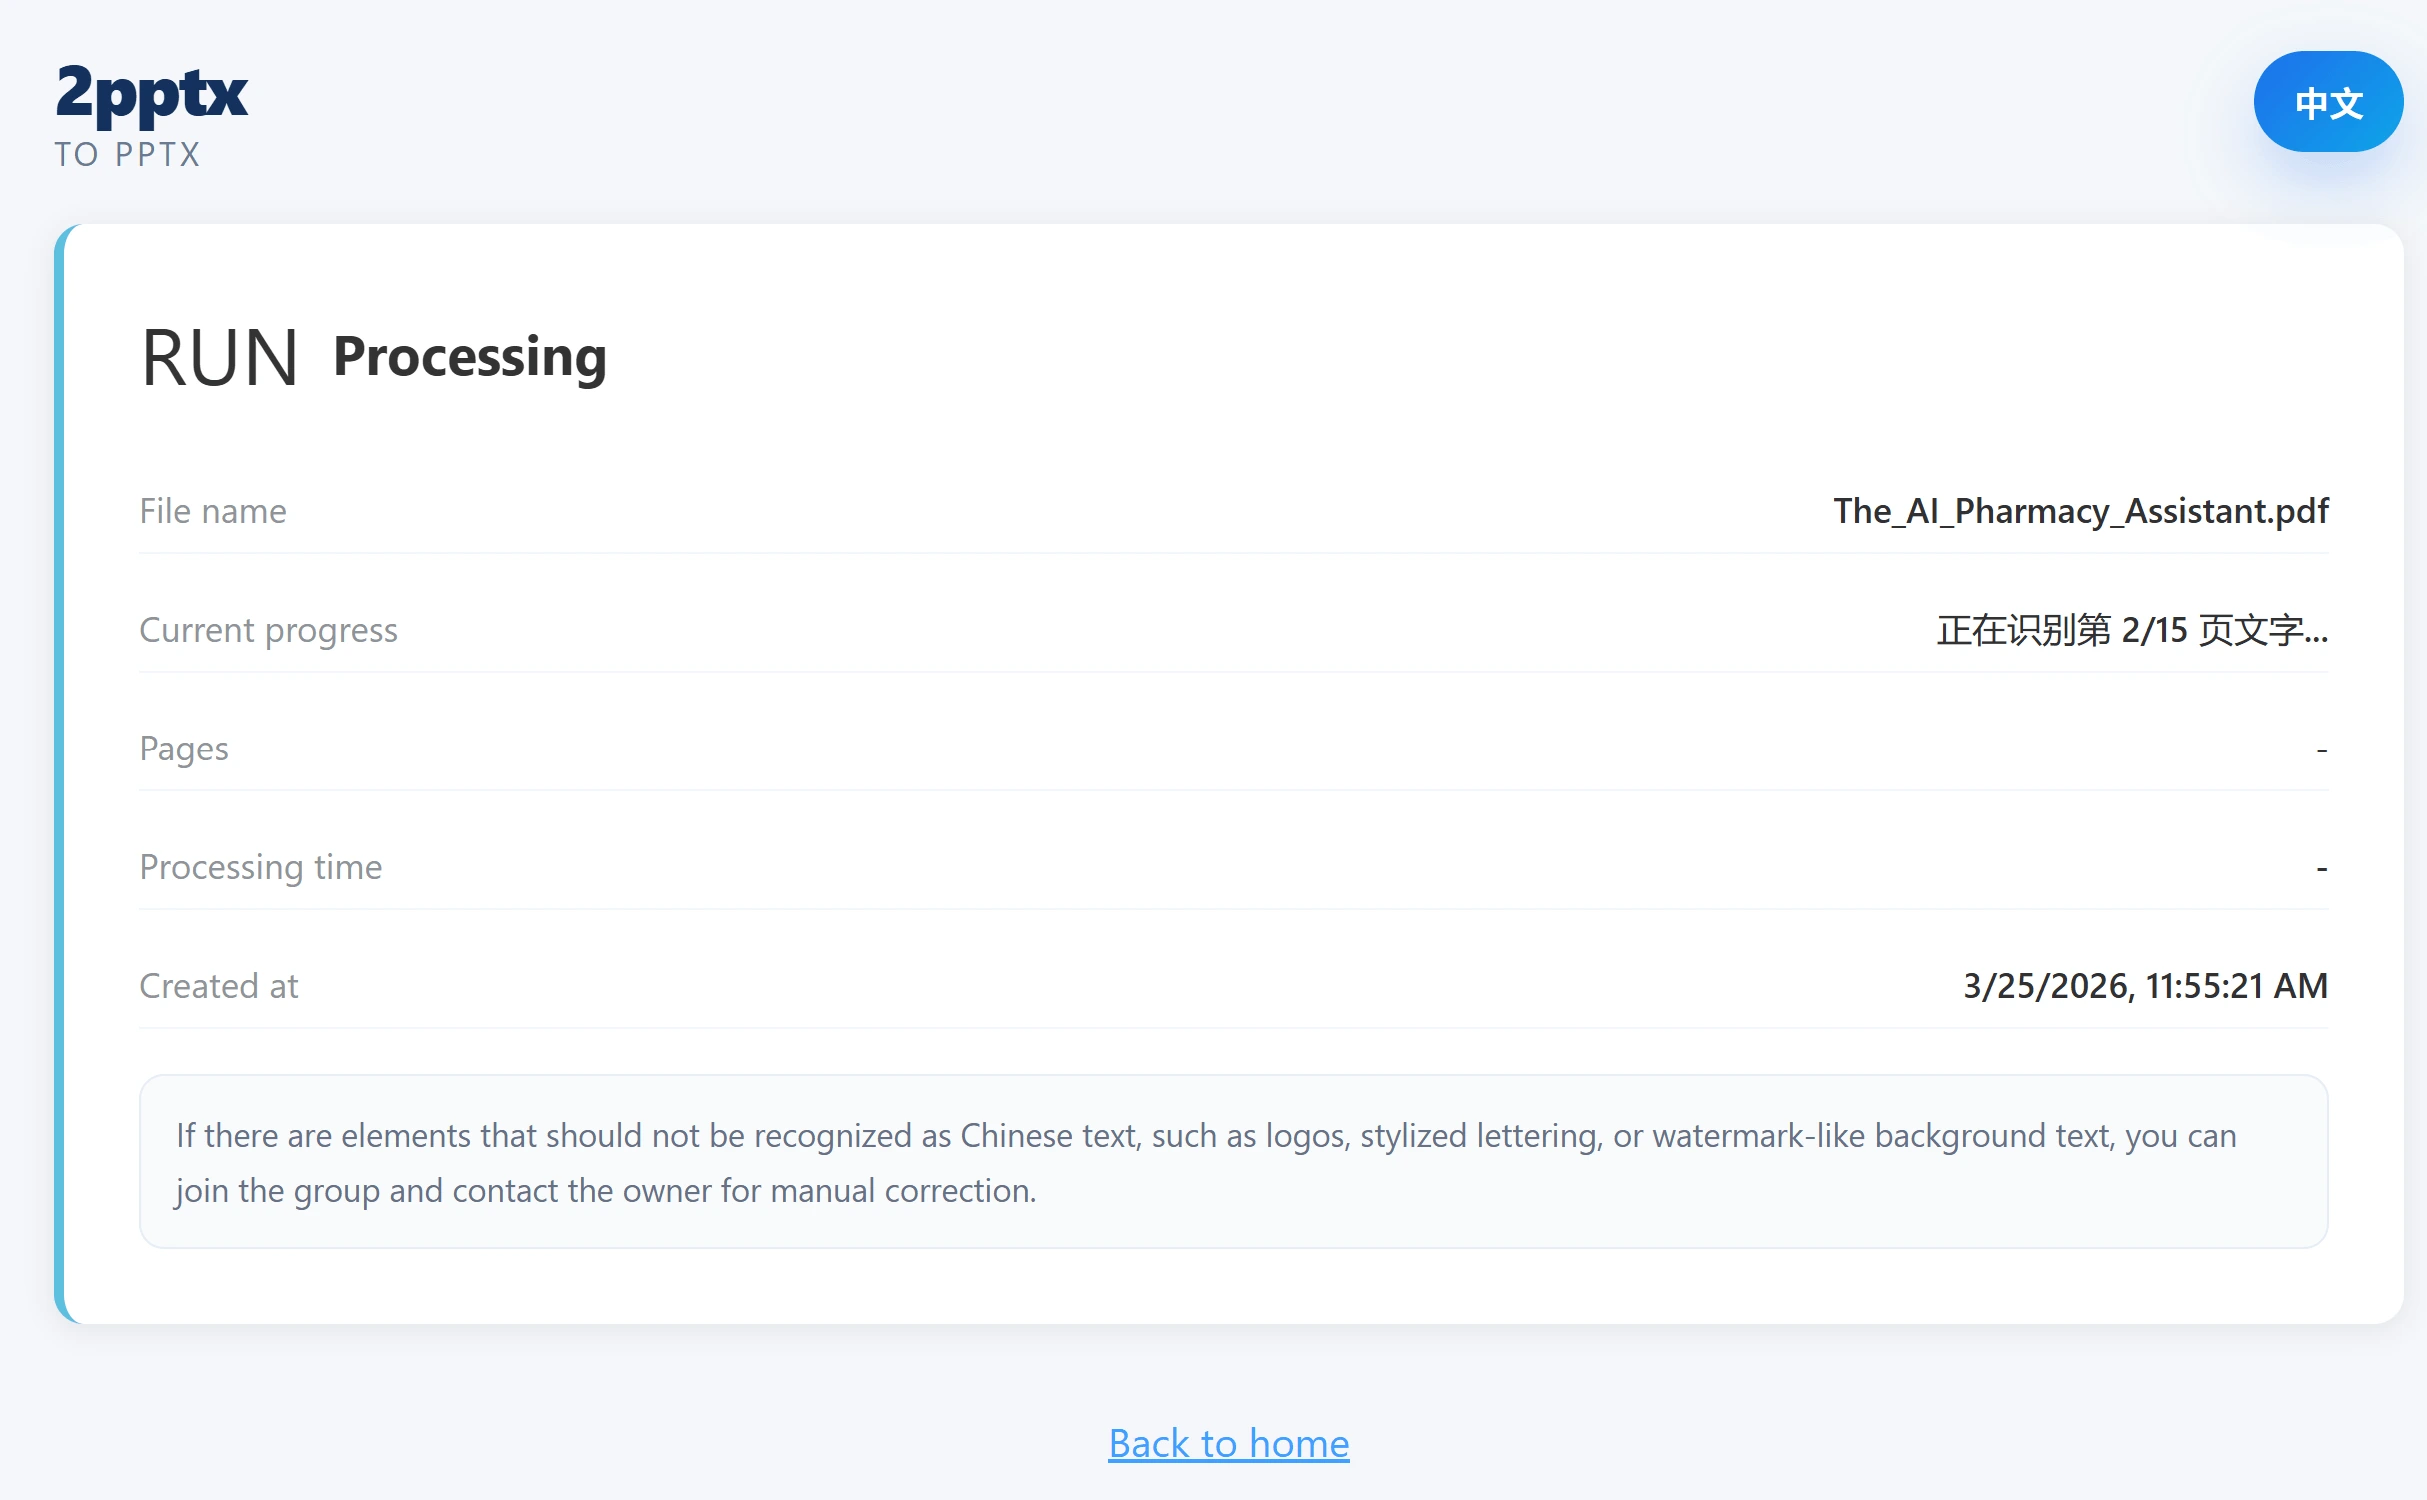
Step 3: Wait for Processing and Download
After uploading, the system automatically performs OCR text recognition, background inpainting, and PPTX generation. It usually finishes within a few minutes. Save your pickup code and click download to get the PPTX file.
Step 4: Open in PowerPoint and Edit the Text
Open the downloaded PPTX in PowerPoint and double-click any text to edit it directly. The page looks almost the same as the original scanned slide, but the text is now in independent text boxes that you can freely modify—change the wording, font size, or color as needed.

Pros: Preserves the original page layout and visual design; text is directly editable; no manual formatting needed; ideal for translation, wording fixes, typo corrections, and number updates; free to use.
Cons: Charts, icons, shapes, and other non-text elements remain in the background image and cannot be edited individually. If you need to fully reconstruct native PowerPoint graphic objects, this tool is not the right fit.
If the scanned page also has icons, illustrations, decorations, or background assets that you need to reuse separately, read this guide to the PPT element pack.
Comparison of All 3 Methods
| Manual Retyping | OCR Extract + Paste | 2pptx Conversion | |
|---|---|---|---|
| Preserves original appearance | Requires manual recreation | No | Yes |
| Text is editable | Yes (manually typed) | Yes (manual formatting) | Yes |
| Effort required | Very high | High | Low (upload and convert) |
| Layout accuracy | Depends on manual skill | Very low | High |
| Cost | Free | Free | Free |
| Best for | Changing 1-2 text spots | Extracting text content only | Preserving layout + editing text |
Summary
The reason text in scanned PPT slides cannot be edited is that each slide is an image with no actual text data inside. The key to making the text editable is OCR—recognizing text from the image and converting it back into real text. Which method to choose depends on your core need:
- If you only need to change one or two spots, manually adding text boxes on top is the quickest fix.
- If you need to extract large amounts of text for reuse, use an OCR tool to recognize and copy the text.
- If you need to preserve the original visual layout while making all text editable, 2pptx.com is the most efficient option.