Replace pictures in AI-generated slides with your own images

An AI-generated slide has useful text and a layout you like, but the picture shows the wrong product. You try to add your company's logo and find that clicking anywhere selects the whole page. Generating the slide again may change the parts you wanted to keep.
If the picture is already a separate object, replace it directly in PowerPoint. If the text, artwork and background form one image, the picture you want to change needs to be separated first.2pptx Full-element mode rebuilds text and places separable visual elements into a PPTX. After downloading it, you can replace those pictures with your own assets.
Editing an image element means moving, resizing, deleting or replacing that picture object. A cup, person, color or texture inside it remains part of the image. Those details do not become individual native shapes.
Check whether you can select the picture on its own
- Only the picture is selected and the text stays put: go to the replacement steps.
- The whole page is selected: start with separating an image slide.
- The picture and nearby decoration move together: see what to do when parts remain joined.
Review the page count, price and service details before submitting. Start with a representative page to check whether the picture you need can be selected separately.
If the whole page is one image, separate its elements first
A PNG, JPG or image-based PDF stores the page's appearance. Inserting it into PowerPoint does not separate the heading, person or product picture. Ungroup cannot recover those objects from an ordinary image.
Keep the clearest source available instead of repeatedly converting a screenshot compressed by a messaging app. Upload the page to 2pptx and select Full-element editable PPT. Standard and Premium clean conversion mainly handle text; non-text content usually stays in the background. For picture replacement, check that the Full-element result has separated the image you need.
Image-based PPTX import requires one full-slide image per slide. If your PPTX already contains several native objects, inspect the picture in that file first. Keep content you can already edit. The screenshot conversion guide covers preparing multiple images.
After downloading the Full-element PPTX, duplicate the slide you plan to edit. Move the target picture slightly, check that the heading, body text and other pictures stay in place, then undo. Use the Selection Pane if the object is hard to click. Separation varies by page, so check the target before replacing it.
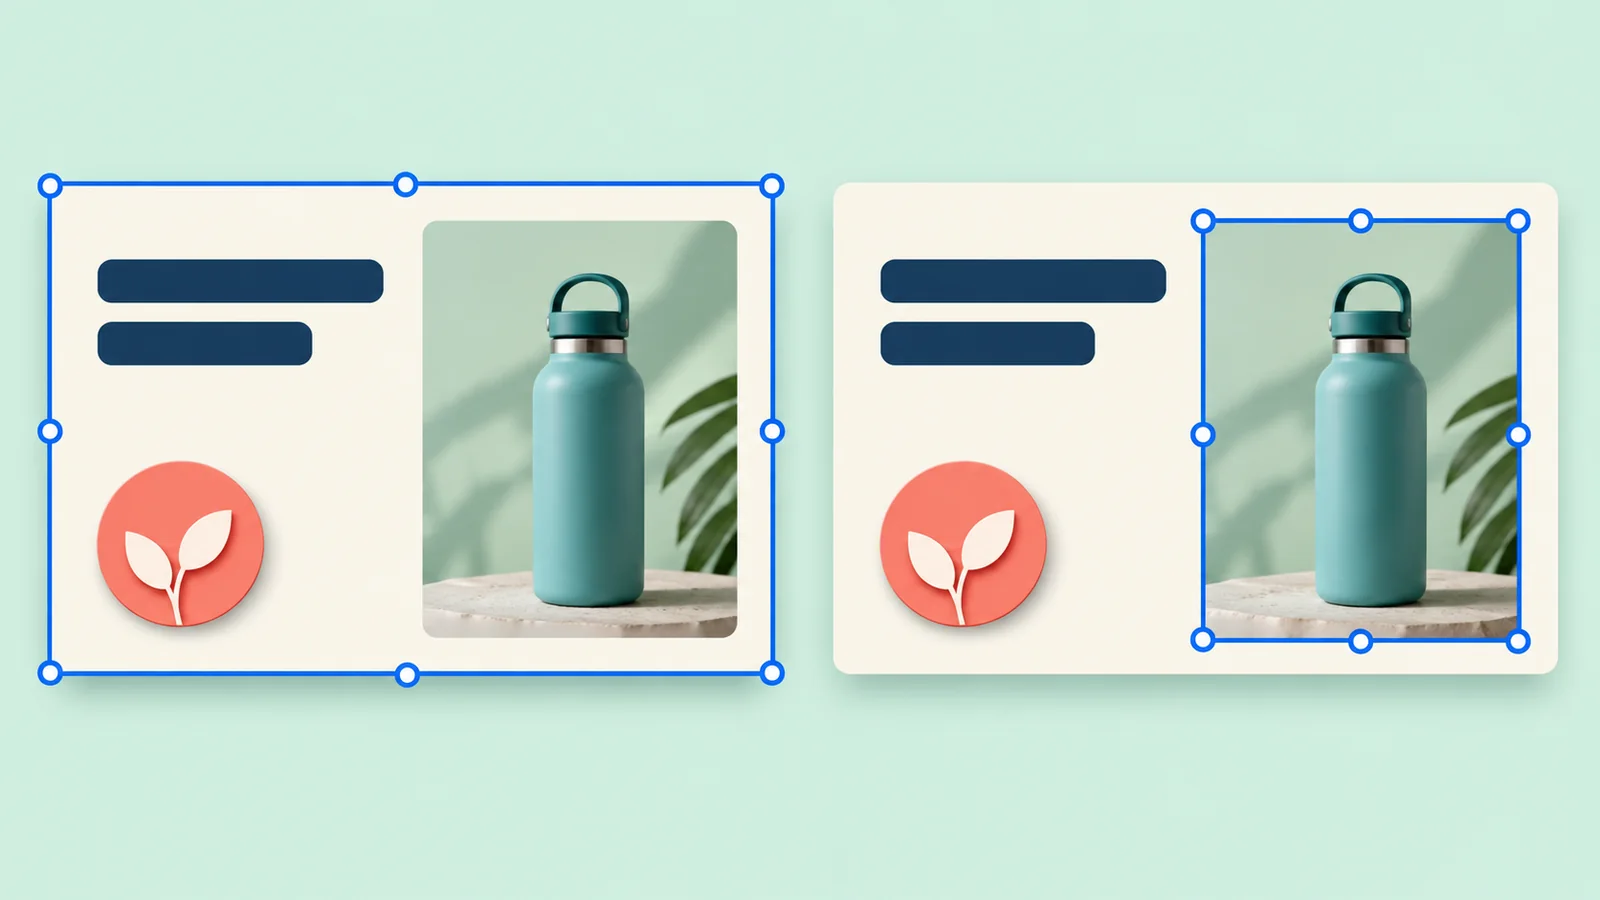
Replace the old picture with your own
These steps use PowerPoint for Windows; menu locations vary across versions and applications. Make the replacement in the downloaded PPTX.
- Select the separate picture. Note its position, dimensions and position in the layer order.
- Open Picture Format → Change Picture and choose your file. Microsoft's picture replacement guide shows the command.
- Check the new crop and proportions. If the inherited crop does not suit the asset, delete the old picture, use Insert → Pictures, and set the new image's size and position.
- Inspect the edges, background and overlaps. Look for old image content underneath and check that nearby text remains intact.
If two subjects appear after replacement, move the new picture aside to inspect the area. Another old picture object may remain, or part of it may still be in the background. Find the cause before covering it with another layer.
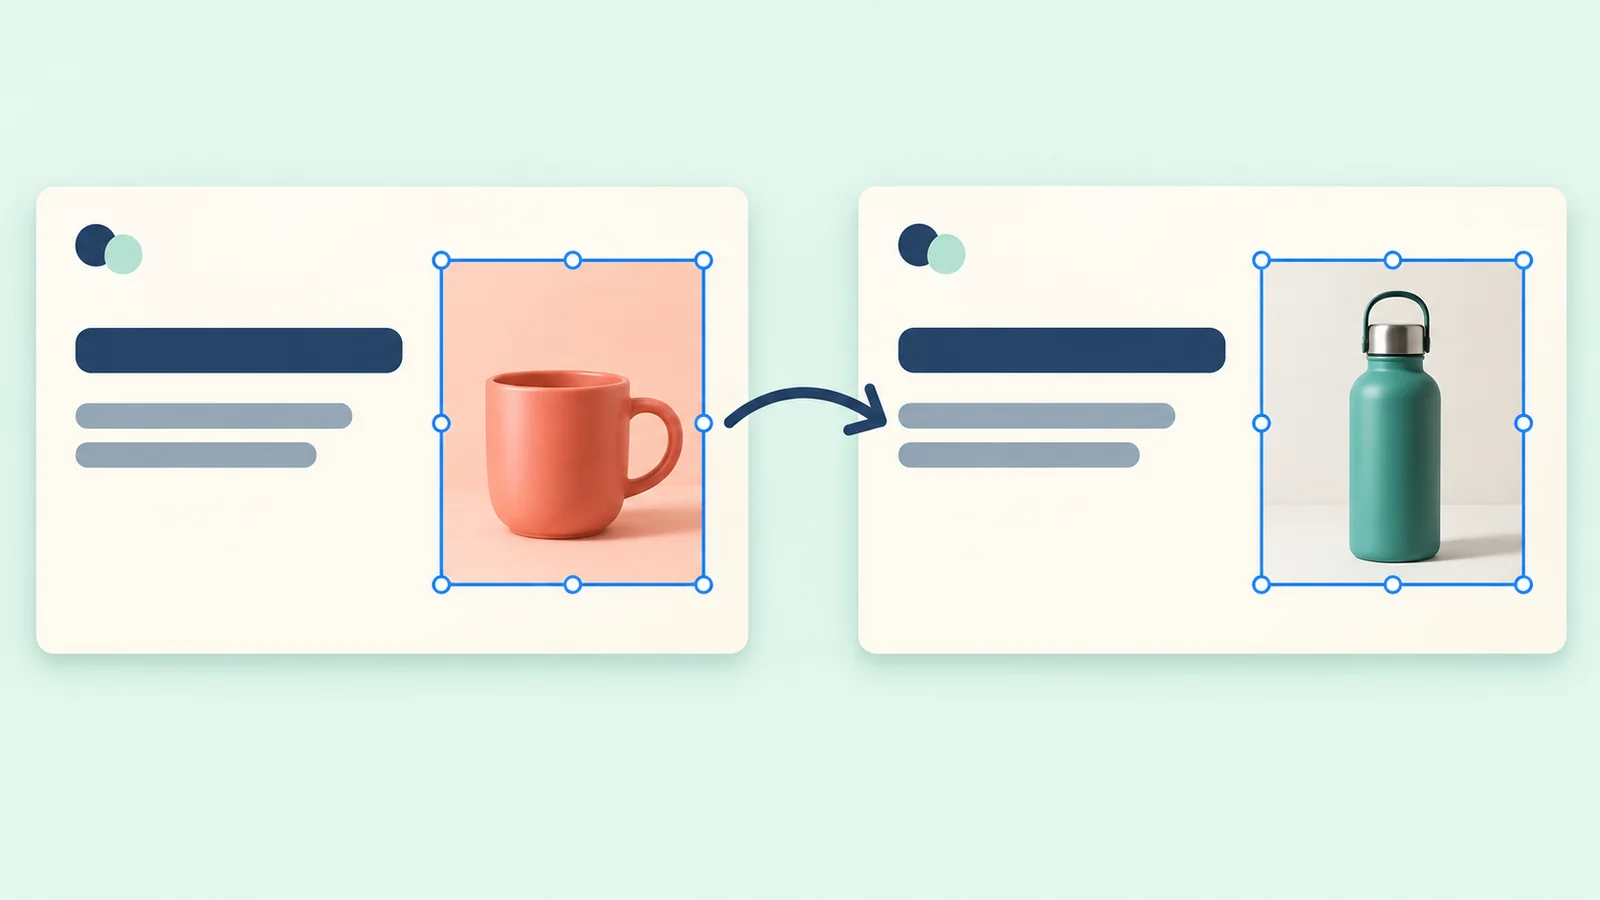
Logos, product images and photos need different checks
| Asset | What to prepare | What to check |
|---|---|---|
| Company logo | A clear official file, with transparency if needed | Proportions, clear space, background color and unwanted white borders |
| Product picture | A complete product photo or cutout with a suitable angle and framing | Clipped details, overlap with text and image sharpness |
| Person or scene | A photo with proportions close to the available space | Face and subject placement, crop and distance from text |
| Icon or illustration | An asset with a suitable style, color and line weight | Transparent edges, visual size and layer order |
Use the company's official logo asset rather than an OCR or redrawn version. If the old symbol and company name became separate objects, check both after replacing the symbol. An old company name can otherwise remain beside the new mark.
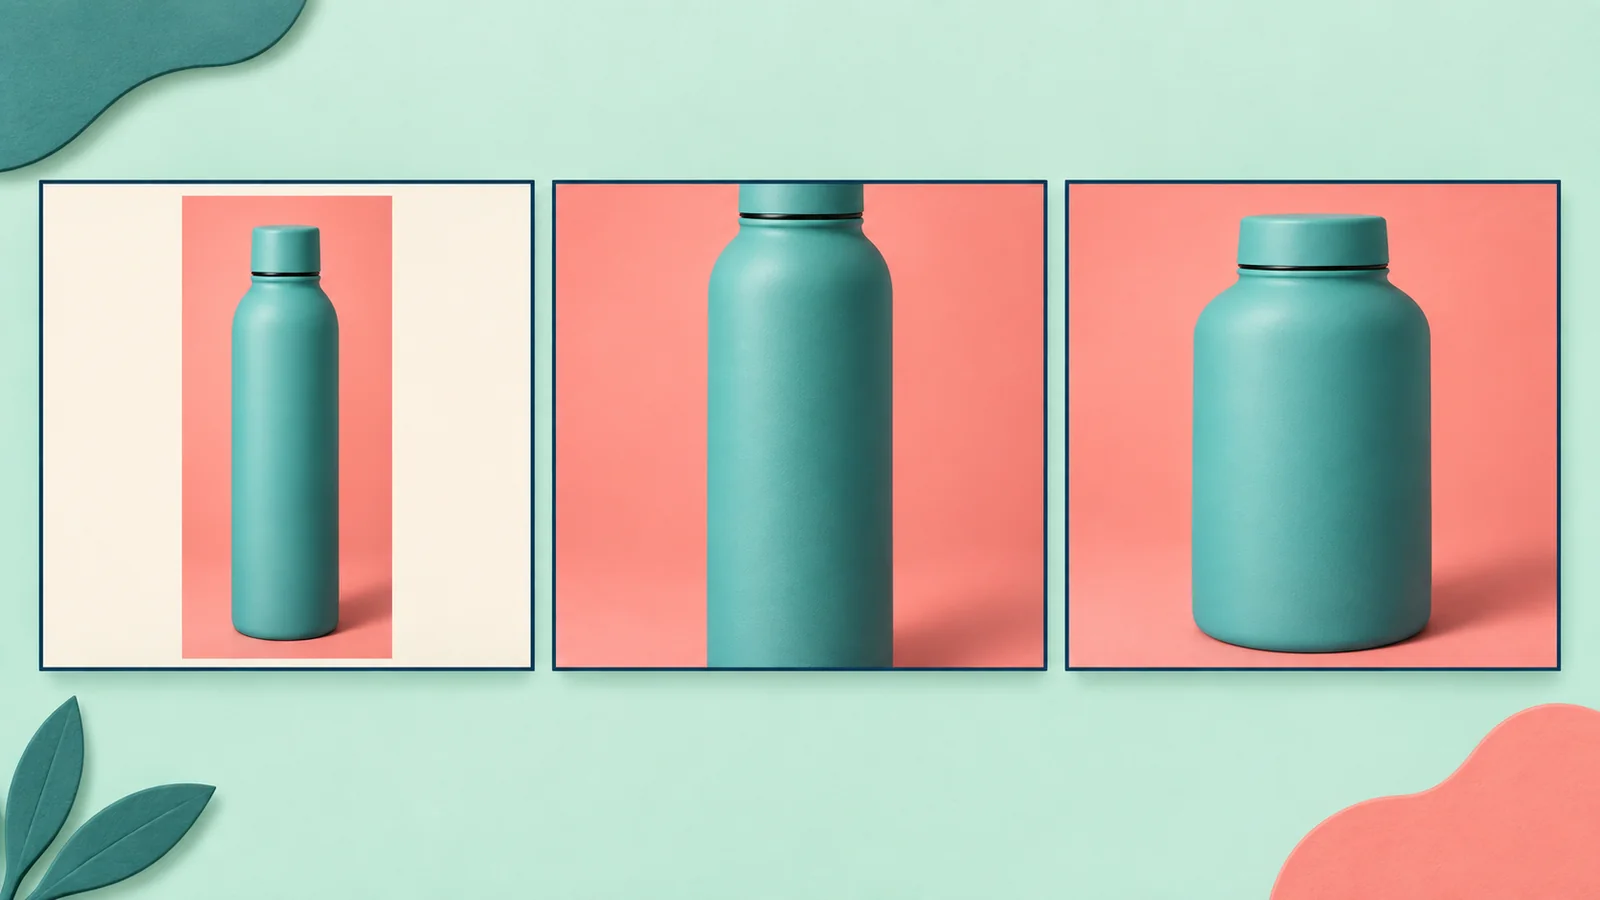
A product picture may not fit the previous frame. A narrow bottle stretched to fill a wide illustration's dimensions will look distorted. Keep its proportions and reconsider the surrounding space.

Adjust the new picture without disrupting the layout
Set the proportions before cropping
Keep the aspect ratio when resizing. To occupy a fixed picture area, Crop → Fill can fill the frame but may remove outer edges. Crop → Fit shows the whole image, potentially leaving space around it; that can suit a logo or product that must remain complete. Microsoft's cropping guide explains these options.
Check overlaps and spacing
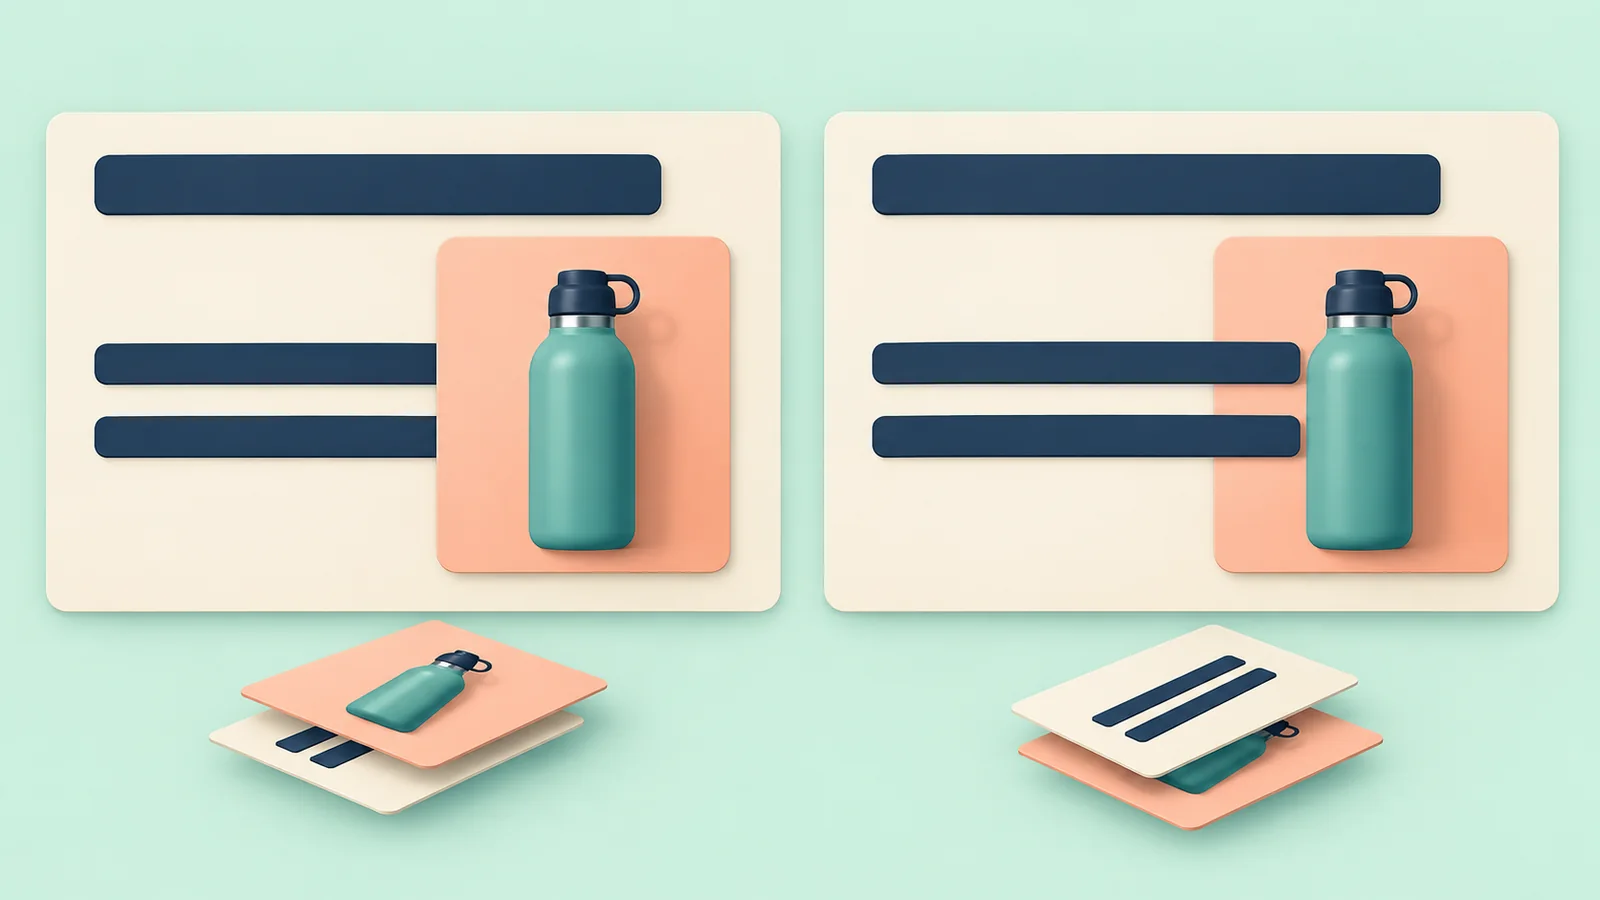
A newly inserted picture can cover a heading, note or decoration. Move it forward or backward as needed, then check the text. If the original picture and its shadow are separate objects, inspect both so the new product does not retain the old product's shadow.
Moving an image from the right side to the left may also require moving the body text. Rebuilt text boxes can be adjusted separately, but replacement does not automatically redesign the slide. For longer wording, see the guide to font sizes and line breaks in slide images.
For a broader change to picture and text placement, follow the layout steps for separated AI slide elements, from checking the selection to adjusting spacing, alignment and overlaps.
What if the picture and decoration remain joined?
Check whether you have a group of objects or one picture. A group may contain a separate image you can select. Inside a single picture, the decoration and subject still move together; repeatedly choosing Ungroup will not separate them.
If the whole area can change, replace that picture object and adjust nearby text. If you need a new product but must keep decoration touching it, the image needs further editing, or you need to rebuild that area with your own assets. Overlaps, blurred edges and connected artwork may prevent complete separation.
Inspect the area revealed after moving or deleting an image. The original may not contain full information about the hidden background, and repairs may leave visible edges or texture differences. The guide to separated elements and actual output examples shows the kind of file structure to expect.
Check these details before saving
- No old picture content, unwanted white borders or missing transparent edges remain.
- The logo or product is not stretched, and essential details have not been cropped out.
- Headings, text and captions match the new picture and remain visible.
- The picture is sharp enough at presentation size; enlarging a small image element cannot restore missing detail.
- After saving a copy and reopening it, picture positions, text wrapping and layer order still look right.
Frequently asked questions
Does Full-element editable mean every detail inside a picture can change?
No. Separated non-text elements are generally still images. You can move, resize, delete or replace them. Internal colors, textures and objects need image editing; conversion does not automatically restore native vector shapes or charts with data.
Should I use Premium clean just to replace a picture?
Premium clean mainly handles text over complex backgrounds. For picture replacement, check whether Full-element output separates the target image. If the original PPTX already has a separate picture, use Change Picture directly.
Will replacing one picture change the rest of the slide?
A replacement targets the selected picture object. Its new proportions, transparency and overlaps can still affect the layout, so inspect the result. If a group or whole-slide picture is selected, check the selection before making the change.
Can I copy a separated picture to another slide?
Yes. Select it, copy and paste, then adjust its size and position. It remains a picture; moving it to another slide does not add resolution or turn its contents into editable shapes.