Rearrange AI-generated slides: move pictures and make room for text
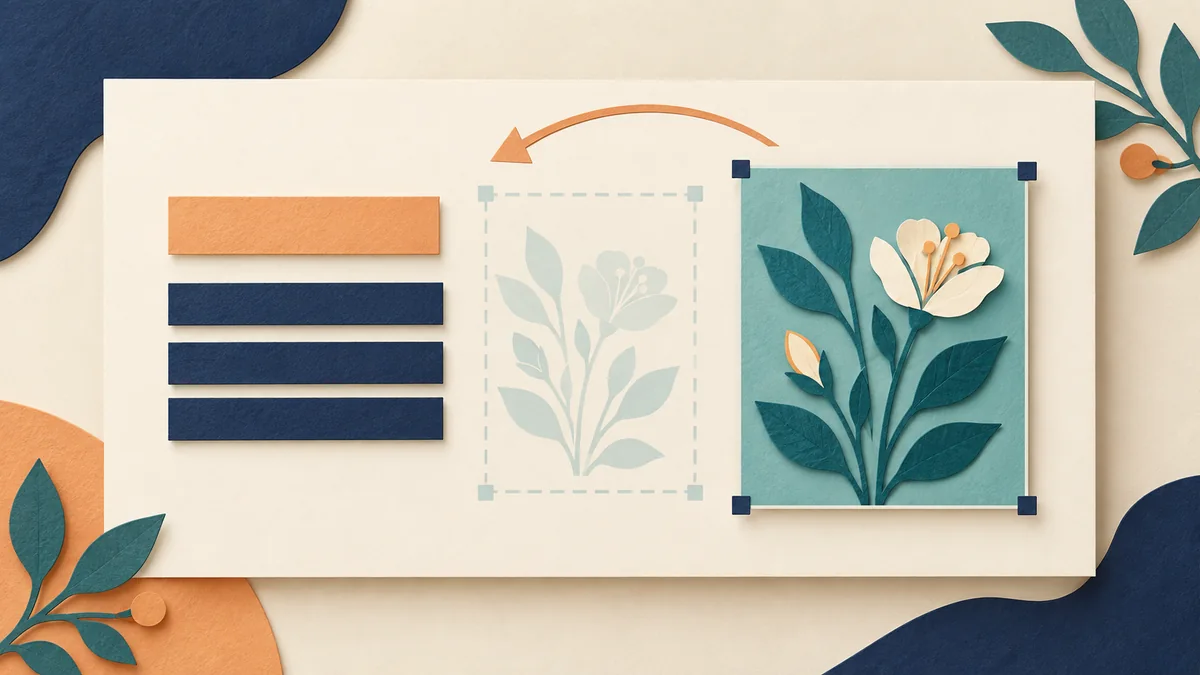
The artwork on an AI-generated slide looks useful, but it takes up half the page. Your new heading needs two lines, and the body text feels cramped. You try to move the picture aside, and the entire slide moves with it.
Before rearranging a slide, check whether its text and pictures can be selected separately.Existing objects can be moved directly in PowerPoint. A slide stored as one image needs its text rebuilt and the relevant pictures separated before you can reposition them independently.
2pptx's Full-element editable PPT mode handles image-based pages this way: recognized text becomes text boxes, and separable visual content is placed back into the PPTX as picture elements. Download the file to edit text, move, resize or replace those objects in PowerPoint. What you can move independently depends on what has actually been separated.
Are you changing the words or the layout?
- The picture is already selectable: go straight to the layout steps below.
- You only need to edit text in an image slide: consider Standard or Premium clean, depending on the background.
- You also need to move artwork or icons within an image slide: use Full-element mode, then inspect the separated objects.
Start with a representative page and check the page count, price and service details before submitting. The layout edits in this guide happen in the downloaded PPTX.
Why does moving the illustration move the whole slide?
A PNG, JPG or PDF page stored as an image contains pixels. Its heading, artwork and decorations may look separate, yet PowerPoint may see just one picture. Ungroup cannot turn those pixels into individual objects.
In the original file, select the artwork, move it slightly, then undo. If the words and background move too, you may have selected a whole-slide image. If only the artwork moves, you can work with it directly. For overlapping objects, select items one at a time in PowerPoint's Selection pane to check which content belongs to each object.
A large selection box is only a clue: it could also contain a group of existing objects. Check whether it is a group or one picture. Use the original PPTX when it already has editable objects; conversion is relevant to image-based pages. The PowerPoint editing troubleshooting guide covers this distinction.
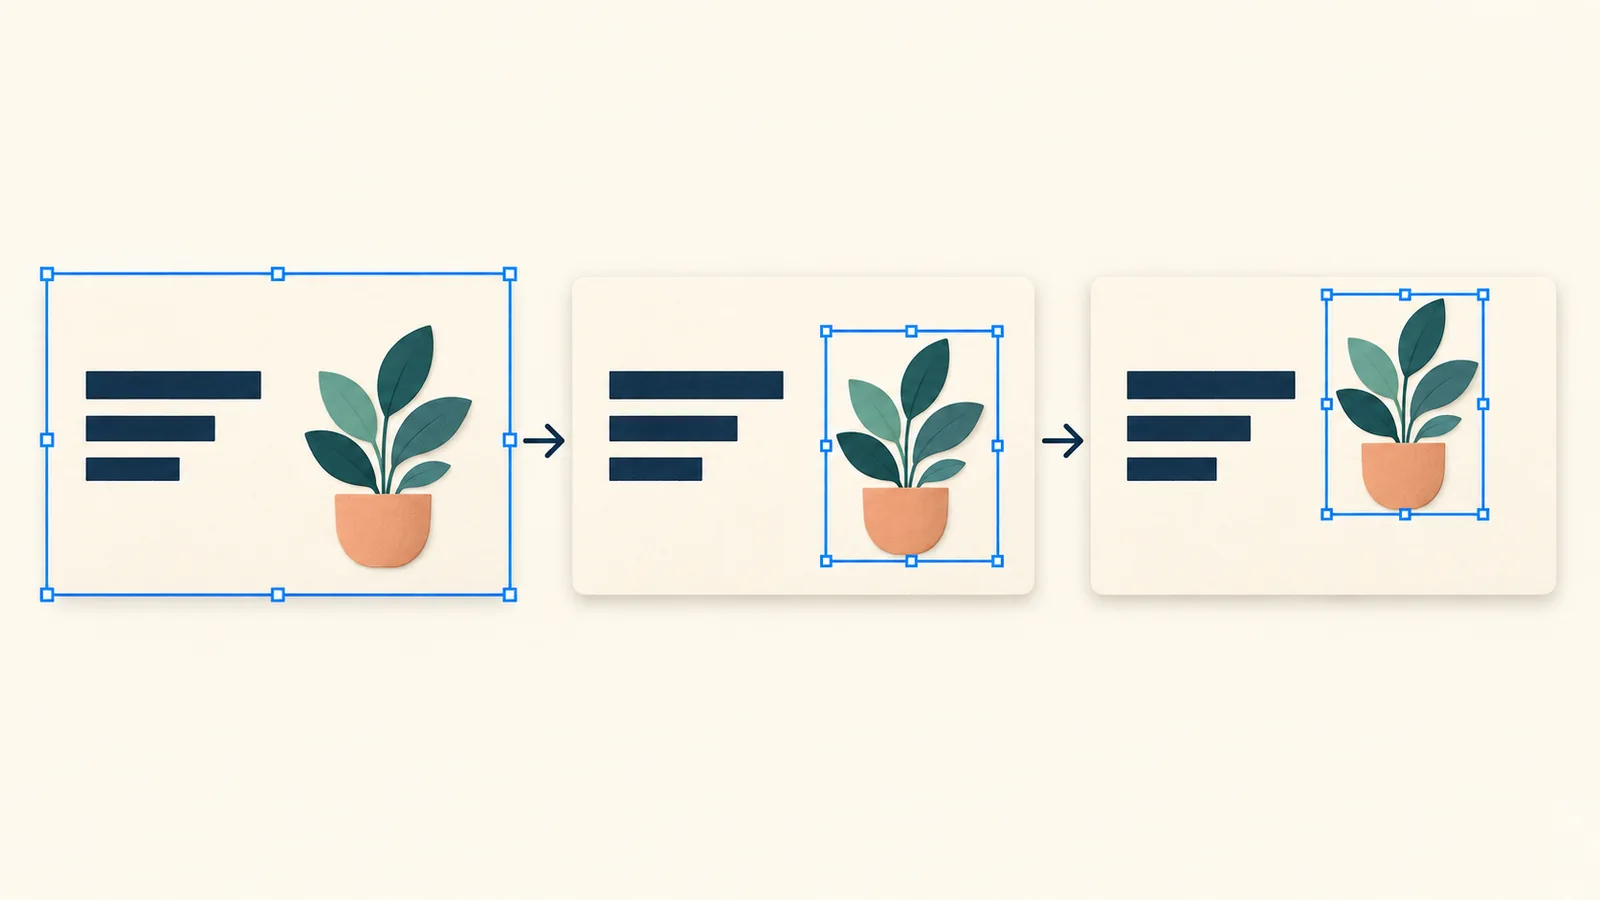
When does moving artwork call for Full-element mode?
Standard and Premium clean mainly restore editable text. Their output contains text boxes, while non-text content generally stays in the background image. The main difference is how they create the text-free background; neither choice means the artwork has also become independently selectable.
Full-element mode is for further visual edits: moving a separated illustration to the other side, shrinking a picture to make room for text, or placing a selectable icon beside the right paragraph. You decide the new layout and adjust it in PowerPoint.
Prepare a clear slide image or PDF, select Full-element editable PPT in 2pptx, and review the page and service information before submitting. Use one representative page to check whether the target illustration becomes selectable. See actual Full-element PPT examples for output structure, or the conversion mode guide for the differences between modes.
Rearrange the downloaded PPTX in this order
These steps refer to desktop PowerPoint; menu names and positions vary by version. Duplicate the slide first so you can compare your edits with the original.
1. Check exactly which objects will move
Select the illustration, move it a little, then undo. Check whether the body text, heading or nearby decoration moves with it. If an icon and its caption are separate but need to stay together, select both. Leave the full-slide background out of the selection.
A content card may have its background and text as separate objects, requiring a joint selection. Another card may still be one picture that moves as a whole. Work with the objects in the file rather than assuming every small decoration has been separated.
2. Finalize the wording before placing the picture
Suppose a one-line heading now takes two lines, and the body needs an extra paragraph. Enter the final wording first to see how much space it needs, then decide on the picture size. Widening a text box may help, but check font size, line spacing and adjacent text boxes too.
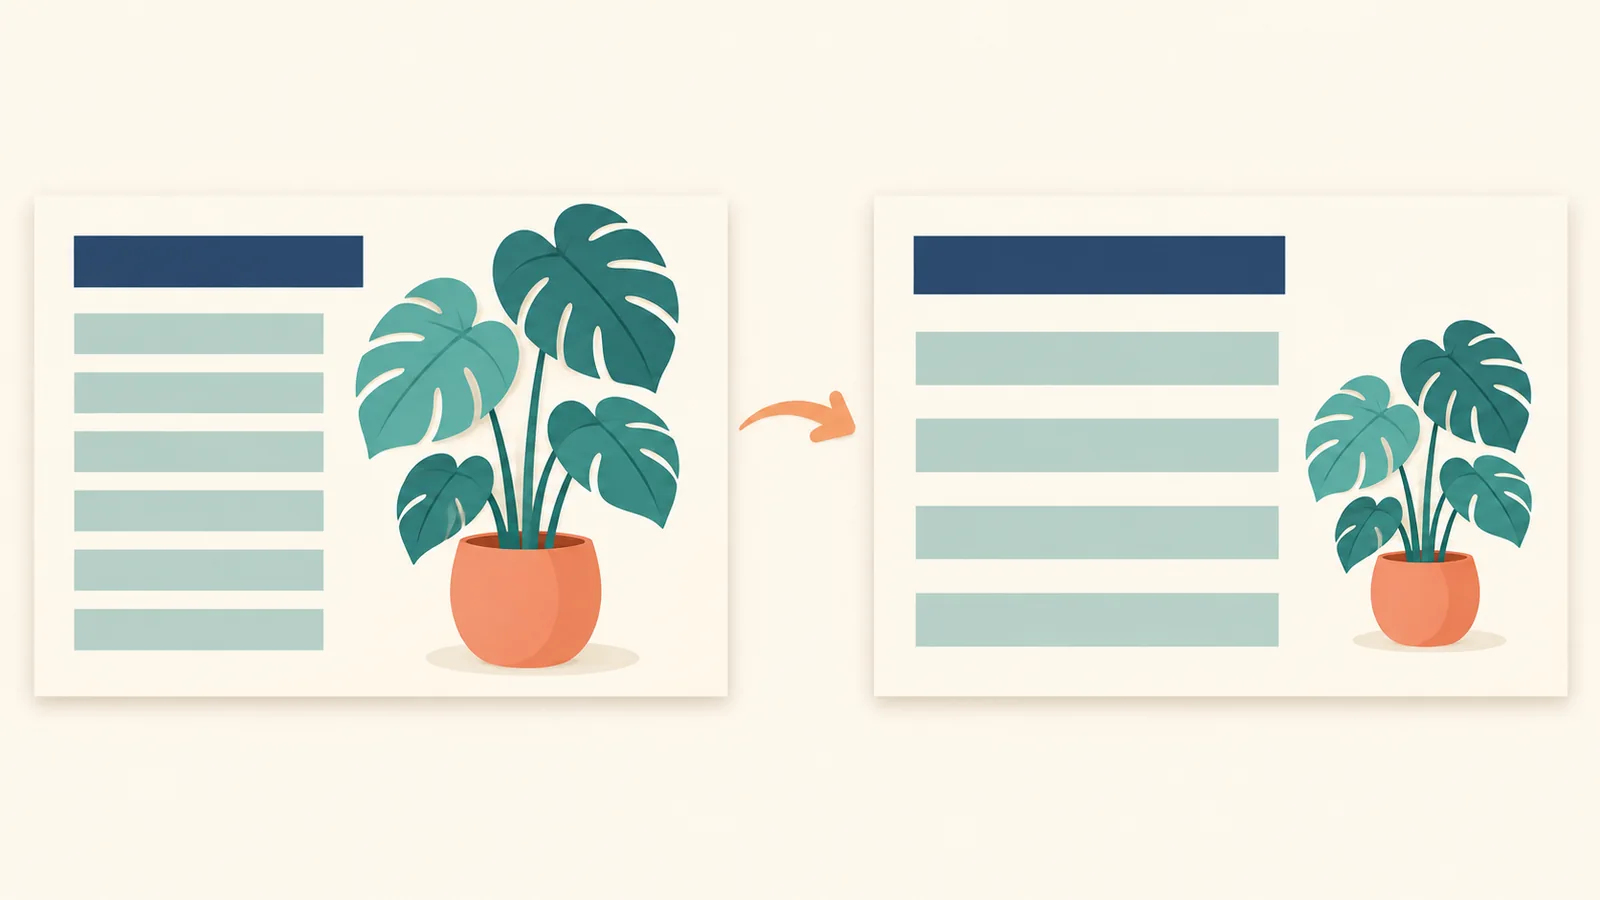
If the text needs more room, reduce the separate picture proportionally and move it to the side or a corner. Widen the text area where space allows. If the page still feels crowded, move some content to another slide instead of making the type too small. See the guide to editing text and line breaks in image slides for further checks.
3. Adjust alignment, spacing and stacking order
Select the relevant objects and find Align under Picture Format or Shape Format. Align the left edges of a column of icons, or use horizontal or vertical distribution to space three or more objects evenly. Check whether you are aligning the selected objects with one another or relative to the slide.
Guides and gridlines under View can help you compare the edges of headings, text and pictures.
If a moved picture hides text, move the picture backward or the text forward as needed. Keep essential text away from busy artwork where possible. Changing stacking order cannot restore missing image content.
4. Inspect the old position and the new edges
After moving a picture, zoom in on the area it occupied. Look for leftover outlines, patches or interrupted textures. The original image does not contain complete information about the hidden background, and separation or reconstruction may not match every detail of the original design.
Check the picture's transparency, sharpness and proportions at its new position. Separated visual elements are generally still pictures: enlarging them too far may look blurry, and selection does not turn them into native vector shapes with editable paths. If the layout needs different or sharper artwork, use your own asset; see the guide to replacing pictures, logos and product images.
When should you keep the layout change smaller?
- Artwork and decoration remain in one picture: consider moving them together. Separate edits require further image work or rebuilding that area with your own assets.
- Another element covers part of the subject: moving it may reveal an incomplete edge. Do not assume hidden content was reconstructed accurately.
- Text follows a complex illustration: moving the artwork may require new line breaks. Editable text boxes do not automatically work out a new text-wrap relationship.
- You need new chart values or internal shape edits: an object delivered as a picture remains a picture. Chart data, native vector paths and animations are not automatically restored.
Plan around the parts you can select independently. A small trial move, followed by a background and edge check, is useful before rearranging the entire deck.
Review at presentation size before saving
Check that the wording is complete, pictures are not stretched, and old positions have no visible residue. Then view the slide at presentation size: is the heading clear, is the body too dense, and is there enough space between text and pictures? Save a new file and reopen it to confirm fonts, line breaks and object positions.
Frequently asked questions
Can I change the layout of an AI-generated slide directly?
Yes, when its text and pictures are already separate objects. A whole-slide image needs separation or rebuilding from source assets first. Full-element mode produces a PPTX for further editing; this guide does not describe automatic templates or one-click layout redesign on the 2pptx website.
Will every icon become a separate object?
That is not guaranteed. Image clarity, boundaries, overlaps and connected artwork affect separation. Inspect the downloaded file; content that remains inside one picture will move together.
Do I need Full-element mode just to add more words?
Not necessarily. Consider Standard or Premium clean for text changes alone. Further separation is relevant when making room for the text also requires moving artwork embedded in the background.
Can I copy a separated illustration to another slide?
Yes. Copy the independent picture object, then adjust its size and position. It remains a picture with the transparency and resolution of the result; copying does not separate its internal content.