Remove unwanted icons and decorations from image-based PPT slides

The words and main picture on an AI-generated slide work for your presentation, but a few decorative icons do not. You click one to delete it, and the whole slide gets selected.
Check what the file contains first. A separate icon can be deleted directly. An icon baked into a slide image needs separation or image editing. Saving the picture inside a PPTX, or trying to ungroup the picture, does not turn its pixels into individual objects.
2pptx Full-element editable PPT rebuilds recognized text as text boxes and separates suitable visual content into picture objects, then assembles a PPTX. In the downloaded file, you can edit text and move, resize, delete, or replace the objects that were separated. The level of separation depends on the page and the delivered result.
Start with a representative page
Choose a page containing the icon you want to remove and the kind of background used elsewhere in the deck. Select Full-element mode and check the page count, price, and service details before submitting. In the result, test whether the icon is separate, then inspect its old position.
Upload a page and view Full-element modeSee the examples, modes and pricing, or actual Full-element output first. All five images in this guide are AI illustrations.
Is it one icon, a group, or a whole-slide image?
Duplicate the original slide. Select the icon, move it slightly, then undo. If the words and background move too, you may have selected a full-slide image or a group. Check the object type and grouping in your editor's selection pane; the size of a selection box alone is not enough.
A group may let you select the icon after ungrouping. A PNG or JPG still contains pixels, so deleting it removes the entire picture. For read-only files, master content, and covered objects, see why PPT content cannot be edited.

What does a Full-element PPTX contain?
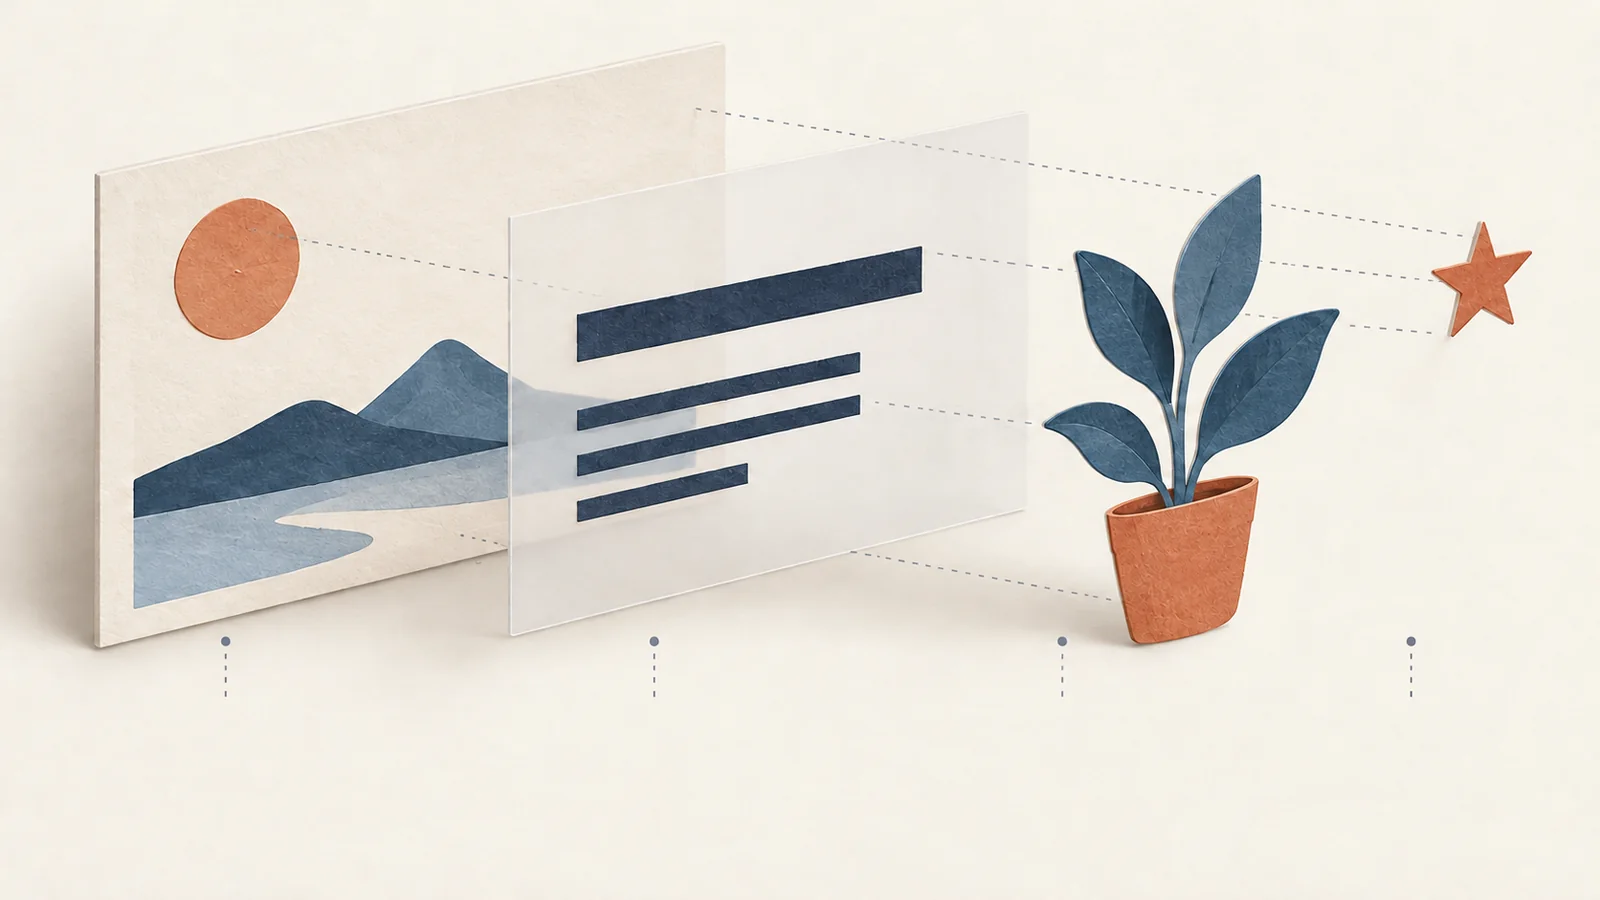
The file gives you text boxes and separate visual objects for further editing. A separated plant illustration, for example, can be moved or deleted as a whole picture. Its leaves and pot may still belong to that same picture.
Non-text elements are generally transparent images. Selecting them separately does not make their internal parts native vector shapes. Chart data, animations, and the original presentation's internal structure are not automatically restored. Parts that remain in one picture will still change together.
| What you need to change | Mode to consider |
|---|---|
| Text on a simple background, keeping the pictures | Standard |
| Text over texture, gradients, or artwork | Premium clean |
| Text plus separate icons or illustrations | Full-element editable PPT |
Standard and Premium clean usually keep non-text content in the background image. Editable words do not mean the icons are separate too. Read the conversion mode comparison for more detail.
Upload the page, then remove the decoration
Use a clear PNG/JPG, PDF, or image-based PPTX with one full-slide picture per page. Edit existing native objects in the original PPTX where possible. A mixed PPTX containing text boxes, shapes, and multiple pictures does not meet the image-based PPTX requirement; export it as PDF if you need to convert it.
Upload to 2pptx, choose Full-element mode, and review the details before submitting. Download the completed PPTX and open it in software that supports PPTX editing. The following edits happen in that downloaded file.
Check the selection before deleting
Duplicate the slide to keep a reference. Select the decoration, move it a little, and undo. Check whether nearby text or artwork moved with it. Use the selection pane to locate small or overlapping objects.
Delete once you have confirmed the selection. If a whole card or paragraph disappears too, undo and check the grouping and picture boundaries. Repeated deletion is a poor way to find the right object.
Decide whether the remaining layout needs work
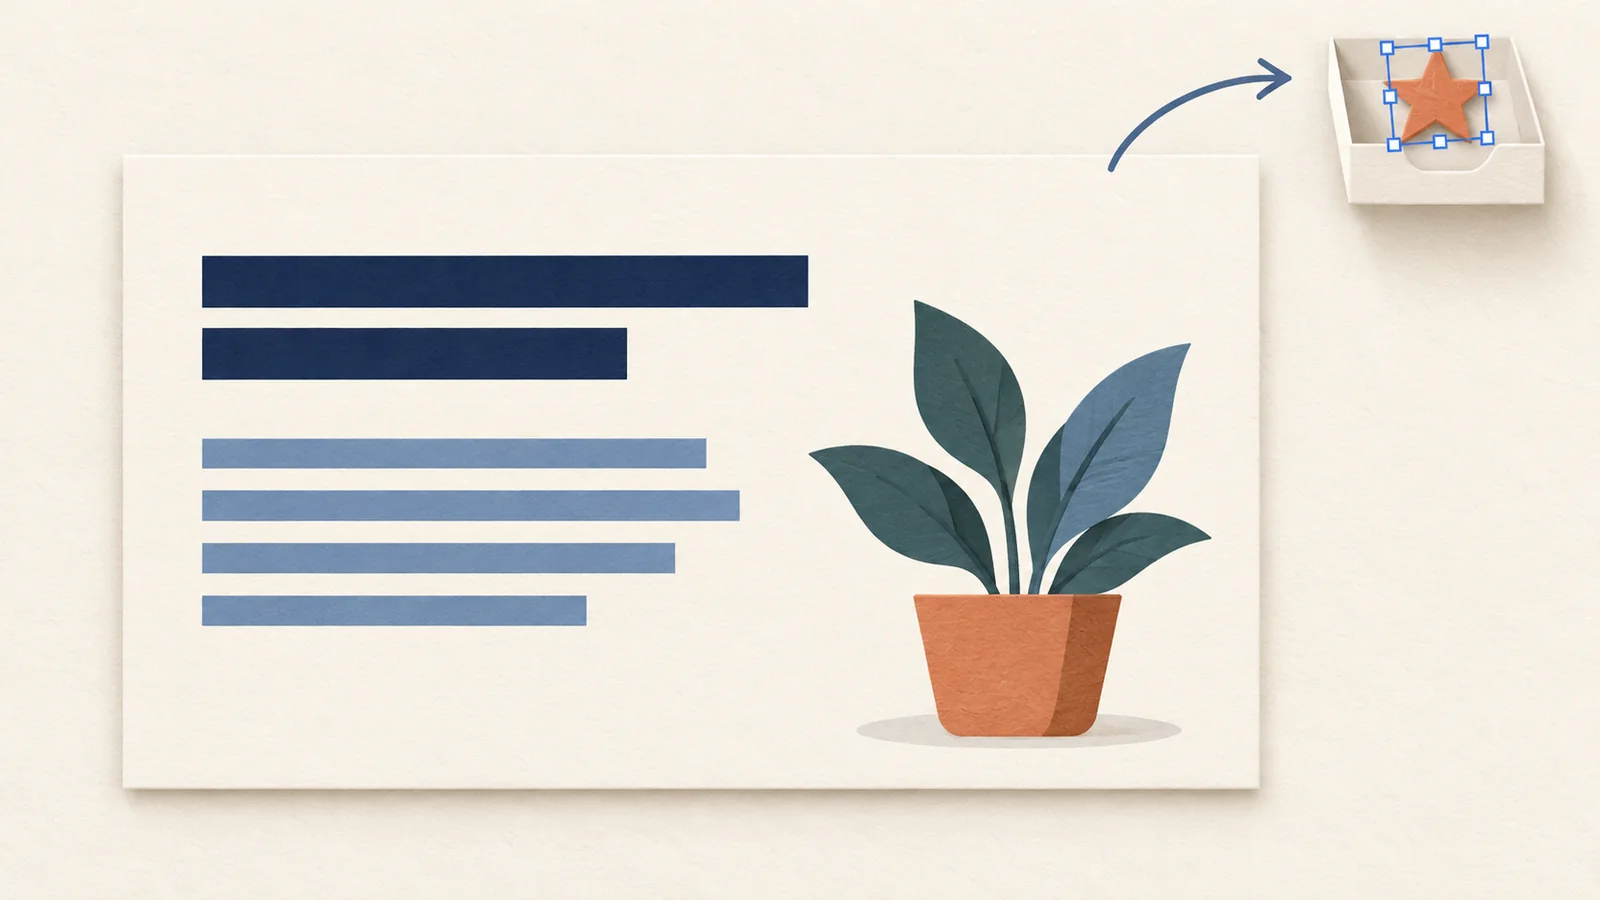
A decorative star may leave useful empty space. An icon beside a paragraph may leave an awkward indent. Adjust only what the slide needs. To put your own artwork in its place, follow the picture replacement guide. To move the remaining content, see how to rearrange the slide layout.
Why is there still a mark in the background?
Deleting the separate object removes that object. Its old position may still contain a duplicate image, shadow, colored edge, or a patch from background reconstruction. Texture, lines, or photo details hidden behind an icon cannot simply be read from the original pixels.
Zoom in on the old position, then check at presentation size. A second overlapping object can be located and edited separately. A mark baked into the background needs image repair or rebuilding from source material; deleting more foreground objects will not remove it.

A matching rectangle can cover a small area on a truly flat background if it does not obscure other content. On gradients, paper textures, and photos, it may look like a patch. Keep the original image for comparison when deciding what needs repair.
What if the part you want is still inside a picture?
An arrow may remain attached to a card, several icons may share one image, or a decoration may overlap the main subject. Full-element mode does not guarantee a separate object for every line or leaf.
Check grouping first. If the content is one picture, treat it as a picture. Cropping may work for an unwanted part at the edge, provided it does not remove anything you need. Content in the middle, or overlapping text and artwork, may need image editing or replacement from source assets. For conversion problems, use contact and feedback with the affected page number and a screenshot with sensitive details hidden.
Reopen the edited deck before sharing it
Check for missing words, changed line breaks after font substitution, and pictures accidentally deleted or stretched. Save a new file, reopen it, and view the edited slides at presentation size.
If someone else will keep editing, retain the PPTX with its text boxes and separate pictures. Exporting the finished slide as one image and pasting it back would flatten those objects again.
Frequently asked questions
Which files does Full-element conversion support?
You can upload PDF, PNG/JPG, or an image-based PPTX with one full-slide picture per page. The upload page shows file size and page limits.
What file do I download after conversion?
You receive an assembled PPTX with the text and separated visual elements placed back on the slides, ready to open and edit. See the actual Full-element output examples for a closer look at the objects inside the file.
How can I edit the text and pictures after downloading?
Edit the wording, font, and font size in the text boxes. Select separated icons, illustrations, and decorations to move, resize, delete, or replace them. These visual elements are usually stored as individual transparent pictures. Make these edits in the downloaded PPTX.
How do I submit a Full-element conversion?
Choose Full-element editable PPT on the conversion page and upload your file. Review the page count and cost, then follow the prompts to submit. When processing is complete, download the PPTX from the result page. See pricing and packages for current charges.